

Realistic AI Images: How to Make Them Look Photographed

Realistic AI images come from three things: a prompt written like a photographer’s brief, a generator that has seen lots of real photographs, and a review step that catches what the model gets wrong. For a store, add a fourth: the image must show the product a customer will actually receive. This guide covers all four, with prompts you can adapt today.
TL;DR
- Describe light with a direction, name materials precisely, and give a camera angle and lens. Vague adjectives like “ultra realistic” do little.
- Realism and product accuracy are different tests. An image can look photographed and still show the wrong product, so check both.
- Start from clear source photos of your real product and keep them as the master. Treat every AI output as a derivative.
- Check licensing and provenance on your plan before you publish commercially.
- Keep one fixed visual recipe across your catalog and change one variable at a time, so your feed looks like one brand.
Table of Contents
- What makes an AI image look real
- How to prompt for photorealism
- Realistic is not the same as accurate
- What to look for in an AI image generator for your store
- Keeping a whole catalog consistent
- Rules to check before you publish
- From realistic images to posts that go out on their own
- A repeatable workflow you can start this week
- FAQ
- Sources
What makes an AI image look real
Most modern generators use diffusion. They start from random noise and remove it step by step until an image matching your prompt emerges. The same article notes that models trained on more photographs tend to produce convincing photorealism, while models tuned on illustration lean painterly. It also explains why hands, small text and crowded prompts so often fail: it comes down to how the model learns.
The tools keep improving. A 2026 academic paper describes frontier image systems as combining photorealistic rendering, readable typography, reference consistency and editing control. In plain terms: the gap between a generated picture and a photograph is now small enough that the quality of your instructions matters more than the choice of tool.
What the eye reads as “real” is mostly physics:
- Light with a direction. A window on the left, a softbox above. Flat, directionless light is the quickest tell.
- Shadows that touch. Where an object meets a surface there should be a tight, dark contact shadow. Without it, the product looks pasted on.
- Materials that behave. Glass reflects, matte ceramic does not, wool shows a weave.
- Believable depth. Focus and background blur that fit the product’s size. A small ring photographed with a deep, sharp background looks wrong.
- Small imperfections. Real photos have texture, dust, wrinkles and uneven edges.
How to prompt for photorealism
Write a shot brief, not a keyword list
OpenAI’s prompting guide for its image models suggests a consistent order: scene, then subject, then key details, then constraints. It also advises stating the intended use, such as an ad or a product page, which sets the level of polish. For complex requests, short labeled lines beat one long paragraph.

A formula that works across tools:
Subject + setting + light + camera + mood.
Example for a ceramic mug:
Handmade speckled stoneware mug, steam rising, on a worn oak table by a kitchen window. Soft morning daylight from the left, a tight contact shadow under the mug, 85mm lens, shallow depth of field, natural color, photorealistic.
Notice what it contains: a named material (speckled stoneware, worn oak), a light source with a direction, a lens and a focus choice. Nothing in it is a superlative.
Name the material
“Fabric” tells the model nothing. “Navy wool tweed with a visible weave” gives it something to render. Do the same for every surface in the frame: brushed brass, polished walnut, matte ceramic, ribbed cotton knit.

Ask for real texture
OpenAI’s guide recommends including the word “photorealistic”, using photography language such as lens, lighting and framing, and explicitly asking for real texture like pores, wrinkles and fabric wear. It also suggests avoiding words that imply studio polish when you want a candid feel.
Skip the quality boosters
Stacks of “ultra, 8K, masterpiece” add little. Concrete visual controls beat vague superlatives. Describe what you want inside the frame rather than what to leave out, because a negation can read as a cue to include the thing.
Prompt cheat sheet
Element Weak Stronger Material leather bag cognac full-grain leather bag with visible stitching and light scuffs Light good lighting soft daylight from a window on the left, gentle shadow falling right Camera professional photo 50mm lens, eye-level, shallow depth of field Setting nice background pale linen tablecloth, blurred kitchen shelf behind Deliverable product image hero shot for a product page, product centered, room for text aboveRefine one change at a time
When an image is nearly right, resist rewriting the whole prompt. Change the light, or the background, or the angle, then compare. You learn what each instruction does, and the rest of the image stays stable.
Realistic is not the same as accurate
This is where store owners get into trouble. A beautiful image of a slightly different product creates returns and complaints, which no amount of realism fixes.
The good news is that shoppers are open to AI imagery. Stylitics data cited by Shopify found that 71% of shoppers could not reliably tell AI product photos from traditional professional ones, and they cared more about whether the product was accurate than about whether AI was used. Accuracy is the thing to protect.
Start from a good source photo
Give the generator what it needs to see:
- The full outline of the product, with clean edges and enough resolution
- Accurate color, visible labels and markings
- Several angles for anything with construction details, such as hinges, clasps, zippers or handles. If the model cannot see a detail, it may invent one.
Keep your original photo as the master. Every generated image is a derivative that must match it.
Safe edits and risky edits
Safe: cleaning edges, correcting exposure, resizing, placing the verified product in a believable scene.
Risky: changing a label, smoothing fabric, enlarging a component, adding an accessory you do not ship, or showing a color that is not in the listed variant. Those change the promise the image makes.
A two-gate review before you post
We suggest checking every image twice, in this order.
Gate 1: Does the product match?
- Identity: color, logo, label text, pattern, variant
- Construction: closures, seams, handles, ports, components
- Material: texture, transparency, finish
- Scale: size relative to the surroundings or a hand
Gate 2: Does the scene look photographed?
- Light direction is consistent across product and background
- Contact shadow is present and plausible
- Highlights on glass, metal and leather behave correctly
- Edges are clean at 100% zoom, with no crunchy texture from upscaling
- People, if any, have correct hands and anatomy, and you have the rights you need
If a single product-accuracy check fails, reject the image. Do not try to rescue it by hand every time; fix the prompt or the source photos instead. When you test a new workflow, use a tricky product (directional print, reflective hardware, fine text, transparency) rather than an easy plain item. If it passes there, it will pass on the easy ones.
Shopper confidence is also a conversion topic. For more on how image quality and accuracy connect to buying decisions, see these examples of AI in ecommerce.
What to look for in an AI image generator for your store
If you are choosing a tool, judge it on what a store needs rather than on gallery showpieces. SitePoint’s 2026 buyer guide points to prompt accuracy, text rendering, editing capability, licensing and training-data transparency, provenance such as watermarks and metadata, and cost.
For ecommerce, translate that into practical questions:
Criterion Why it matters for a store Product fidelity The output must keep your product’s shape, color and labels intact Reference input Can it work from your real product photos rather than text alone? Editing control Can you change the background or light without regenerating the product? Text rendering Packaging, signs and captions in the frame should be legible Licensing Commercial use must be allowed on your plan Provenance Know whether outputs carry metadata that identifies them as AI-made Cost model Per-image charges add up fast across a full catalog Where images go next Resizing and publishing to each social network should not be a separate choreThat last row is the one most people discover late. A folder of excellent images does nothing until each one is cropped for Instagram, Pinterest and TikTok, paired with copy, and scheduled.
Keeping a whole catalog consistent
One great image is easy. Fifty that look like one brand are harder. The approach that holds up:
- Write brand photography guidelines. Klaviyo’s guide to AI photo editing recommends defining colors, styling, mood, lighting, backgrounds, image types and fonts, then curating on-brand source photos.
- Fix your recipe. Keep the product description, palette, lighting and lens language constant.
- Change one variable at a time. Channel ratio, camera distance, background or seasonal context. Never several together.
- Test, one variable per test. Klaviyo also advises focused A/B tests that change a single element.
- Never let the model invent claims. Ingredients, certifications and performance promises come from you, not the generator.
A practical split: use AI for the bulk of catalog and social imagery, and keep traditional shoots for hero products where micro-textures or complex materials need controlled light.
Rules to check before you publish
Three areas deserve a few minutes.
- Licensing. Usage rights differ by tool and plan, and you remain responsible for how you use the output. Read the commercial terms of your plan, and note that free tiers often restrict commercial use.
- Provenance and labeling. Some tools attach metadata that identifies an image as AI-generated, and platforms may add their own labels. Researchers argue that layered controls such as provenance and visible labeling matter because realism alone makes synthetic images harder to spot. Do not strip provenance data on purpose, and follow each network’s current disclosure settings.
- People and likeness. If an image includes a person, confirm you have the rights you need, and never imply an endorsement that does not exist.
Rules vary by country and change often, so confirm the current terms on the official pages of the tools and networks you use. If you sell regulated goods such as supplements or cosmetics, ask a qualified advisor in your market before using generated imagery that implies results.
Our view on realistic AI images
We built Xyla for store owners, not for image hobbyists, and that shapes how we think about realism. A realistic image that sits in a downloads folder does not sell anything. What helps a store is real product data turning into fresh, modern visuals that are published on the right networks at the right time.
That is why we generate new UGC-style videos and images from your actual product data instead of remixing templates, and why we treat the product as the fixed point. The scene can change. The item cannot.
We also believe store owners should not have to count generations. Our approach is to include AI content generation in the standard plans rather than charging per generation, so you can build a full set of posts for a catalog without watching a meter.
Realism gets attention. Consistency and accuracy earn trust. We aim for all three.
Toby
From realistic images to posts that go out on their own
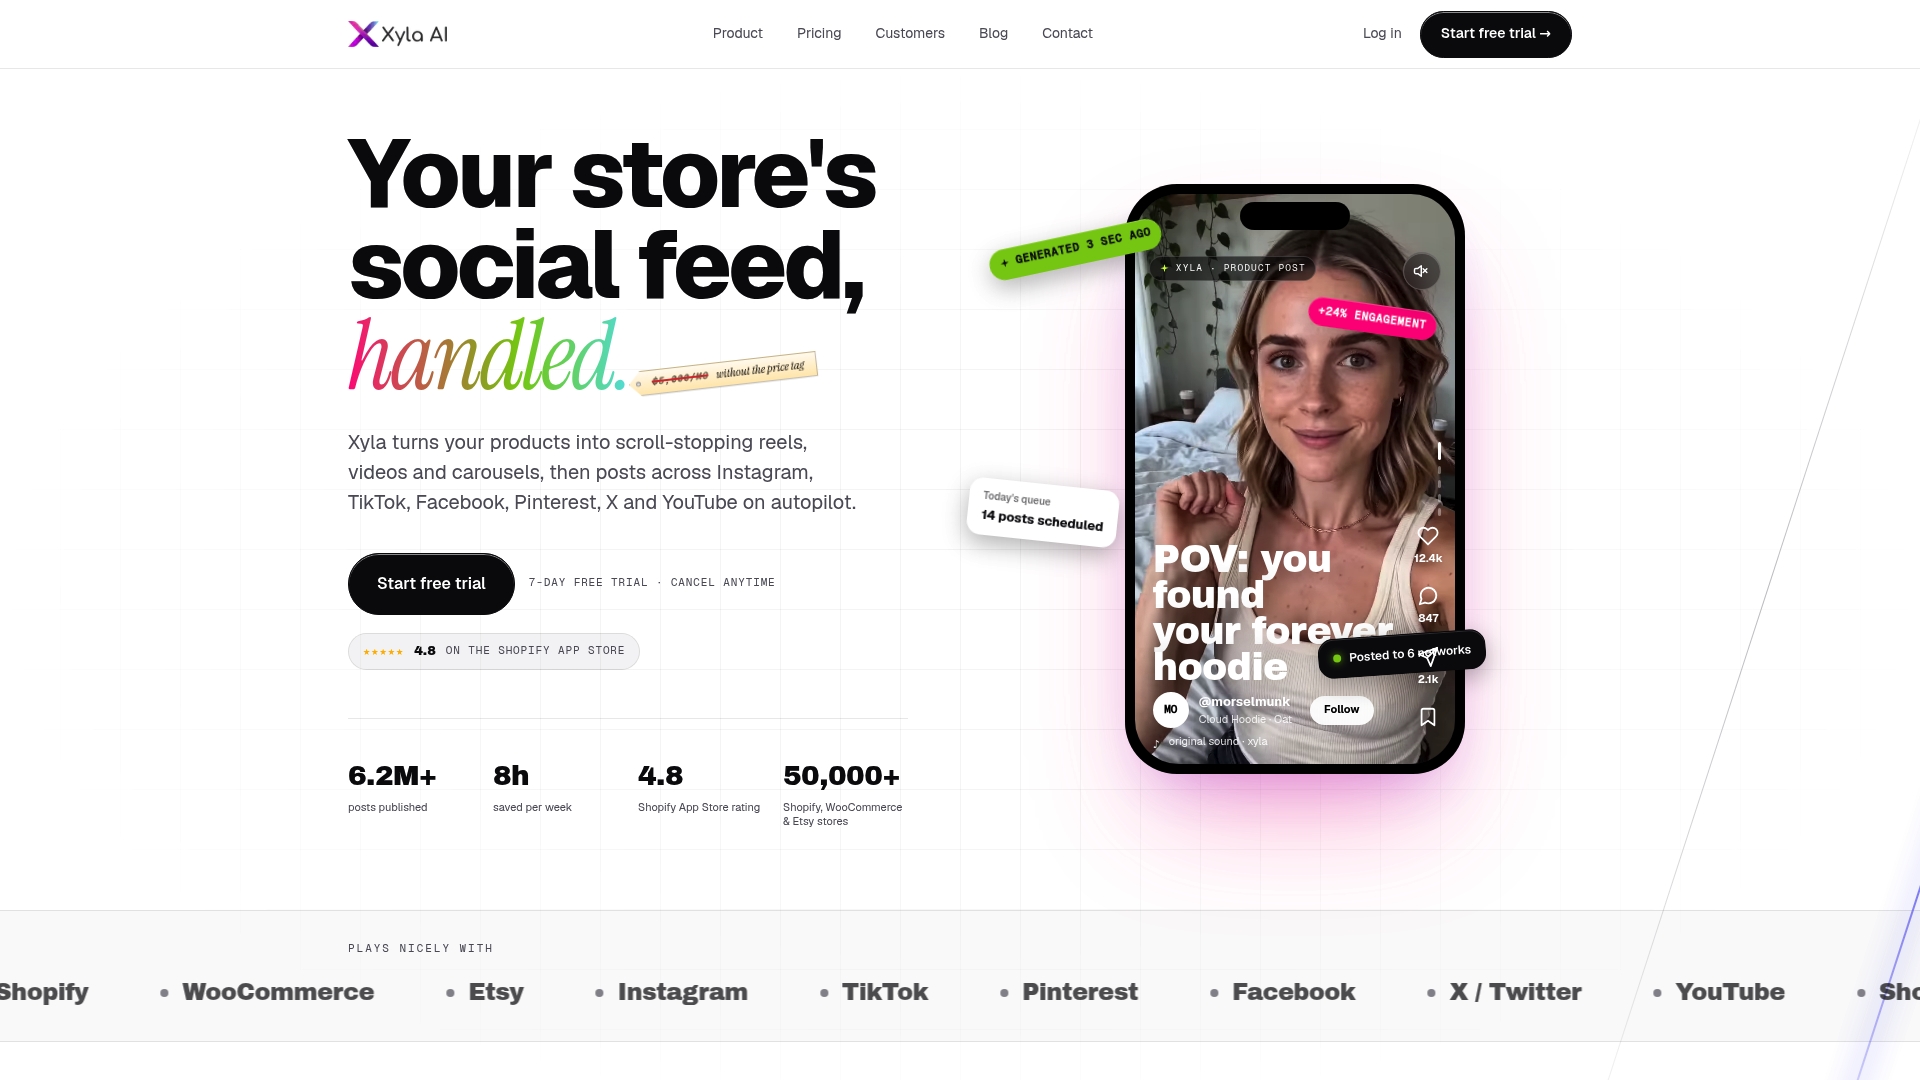
Once your images pass review, the bottleneck is publishing. Xyla turns Shopify, WooCommerce and Etsy product listings into reels, videos and carousels, adapts each asset to the network, writes brand-aligned copy, and schedules and posts automatically across Instagram, TikTok, Facebook and more. It also includes AI image and video generation from your product photos. Plans start at $29 per month for Growth, and you can see every tier on our pricing page.
Shopify merchants can look at the Shopify plans, and Etsy sellers at the Etsy plans. For the wider picture on turning product visuals into content, read our guide to AI product visuals, and see how product photos become video while keeping your brand colors.
A repeatable workflow you can start this week
- Photograph your best-selling product from three or four angles in even light.
- Write one brand recipe: light direction, lens, palette, surface types.
- Generate with a labeled shot brief, one product role per image (hero, lifestyle, detail).
- Run the two-gate review. Reject anything that fails product accuracy.
- Resize for each network and pair with captions. Our notes on AI social captions for ecommerce help here.
- Schedule, then review which images drive clicks and save the winning recipe.
If you want to see how step 5 and 6 run without manual work, our walkthrough of auto posting product updates shows the full path from store change to published post.
FAQ
Do I need to write “ultra realistic” in the prompt?
Not as a rule. Naming specific light, materials and a camera setup does more than stacked superlatives. A single word like “photorealistic” is fine, as OpenAI’s guide suggests, but the detail around it carries the result.
Can shoppers tell AI product photos from real ones?
Often they cannot. Data cited by Shopify found that 71% of shoppers could not reliably distinguish them from professional product photos. What they react to is an item that does not match the listing, so accuracy is the priority.
Why do AI images still get hands and text wrong?
It comes from how the models learn, according to SitePoint’s explainer: small details and crowded prompts are where diffusion models slip. Keep prompts focused, ask for one image role at a time, and inspect hands and any lettering closely before you publish.
Can I use AI-generated images commercially in my store?
Usually yes on paid plans, but terms differ by tool and plan, and you are responsible for your use. Read the commercial license on your plan, and avoid generating logos, likenesses or claims you do not have the right to use.
How many images should I generate per product?
A useful starting point is one image per role: a hero shot, one or two lifestyle scenes, and a detail crop. Review each against your real product photo, keep the ones that pass, and reuse the winning recipe across the catalog.
Sources
- How Text-to-Image AI Generators Work, and 5 Tools That Deliver Good Results (SitePoint)
- Top 6 AI Image Generators in 2026 (SitePoint)
- Seeing Is No Longer Believing: Frontier Image Generation (arXiv)
- GPT Image Generation Models Prompting Guide (OpenAI)
- Guide to AI Product Photography (Shopify)
- The Marketer’s Guide to AI Product Photo Editing (Klaviyo)


