

Instagram Reels: 1080×1920, Safe Zones, Export Presets for Stores

Design every Reel at 1080 × 1920 pixels (9:16 vertical), export as MP4 or MOV with H.264 video, AAC audio, and a minimum of 30 fps. Keep the file under 4GB. Most importantly, treat the center third of the frame as sacred: faces, headlines, and CTAs need to survive the crops that happen the moment your Reel leaves the full-screen player.
TL;DR:
- Creating Reels in 1080 by 1920 pixels with a 9:16 aspect ratio ensures compatibility across all Instagram display zones, including the feed, profile grid, and Reels tab.
- Building all content within the central safe zone of roughly 950 by 980 pixels prevents cropping issues with captions, logos, and overlays across different Instagram crops.
- Designing once at the 9:16 master file level allows automatic derivation of optimized crops for the feed and grid, saving time and preventing accidental clipping.
- Automating Reel generation with tools like Xyla AI can speed up posting workflows by directly creating properly sized videos from product catalogs, saving users multiple hours weekly.
Table of Contents
- What Are the Official Instagram Reel Specs?
- How Does Instagram Crop Reels in the Feed and Grid?
- What Are the Exact Safe Zones for Text and Logos?
- What Export Settings Avoid Blurry or Compressed Reels?
- Why Is My Reel Blurry, Cropped, or Missing Audio?
- How Xyla Helps Stores Publish Size-Safe Reels Faster
- What Should You Actually Prioritize First?
- Want Correctly Sized Reels Without the Manual Export Work?
- Sources
- FAQ
What Are the Official Instagram Reel Specs?
Here’s the number every export dialog needs before you hit publish.
Instagram’s own guidance sets a working range, not a single fixed size. You can upload anywhere between a 1.91:1 (landscape-ish) ratio and a 9:16 (full vertical) ratio, but the platform’s minimum resolution is 720 pixels wide and 30 frames per second. Anything below that gets flagged as low quality or compressed harder on Instagram’s end. The practical target, though, is the one nearly every editing app defaults to for a reason: 1080 × 1920 pixels, a clean 9:16 ratio that fills the phone screen without Instagram needing to scale anything up or down.
Here’s the full cheat sheet you can copy straight into your export settings.
Spec Recommended value Canvas size 1080 × 1920 px Aspect ratio 9:16 (range accepted: 1.91:1 to 9:16) Minimum resolution 720 px wide File containers MP4 or MOV Video codec H.264 (HEVC works on some devices, but H.265 compatibility varies) Audio codec AAC Frame rate 30 fps standard; up to 60 fps for fast motion Bitrate 8 to 12 Mbps Max file size 4GB Color profile sRGB Orientation Vertical onlyA few of these numbers deserve context. The bitrate range comes straight from platform-level guidance on Instagram video sizes and formats, and it’s the sweet spot between visible quality and a file Instagram won’t choke on during upload. Go much lower than 8 Mbps and you’ll see banding in gradients or product shots with subtle color shifts, common in jewelry, cosmetics, and apparel photography. Push well past 12 Mbps and you’re just inflating the file size without a visible quality gain, since Instagram recompresses everything on its end anyway.
sRGB matters more than most creators realize. If you’re exporting from a design tool set to a wider color gamut like Display P3, colors can shift slightly once Instagram converts the file, usually toward duller or slightly off tones. Switching your project’s color profile to sRGB before final export avoids that surprise.
On frame rate, 30 fps covers almost every use case: talking-head content, product demos, text-driven Reels. Bump to 60 fps only when you’re shooting genuinely fast motion, like a product unboxing with quick cuts or footage that will get slowed down in editing. Anything higher just adds file weight without a visible benefit on a phone screen.
How Does Instagram Crop Reels in the Feed and Grid?
This is where most creators lose text and product labels without ever knowing why.
Your Reel doesn’t look the same everywhere it appears on Instagram, and that inconsistency is the single biggest cause of clipped headlines and cropped logos.
- The Reels tab shows your full 9:16 canvas. Nothing gets cut. If someone watches from the dedicated Reels feed, they see exactly what you exported.
- The main scrolling feed shows a centered 4:5 crop, roughly 1080 × 1350 pixels of visible area. The top and bottom of your frame get trimmed away here, which is exactly where most creators park their captions and logos.
- Your profile grid crops the cover image to a portrait thumbnail around 3:4, close to 1080 × 1440 pixels. This is the version people see when they’re browsing your profile before deciding whether to tap in.
- Because three different crops draw from the same source file, the only reliable fix is designing for the tightest one and letting the wider views show extra breathing room, not the reverse.
The practical rule: build every Reel assuming a viewer only sees the middle band of the frame. If your subject’s face, your product, and your text all live inside that central zone, the 9:16, 4:5, and 3:4 versions all look intentional. If you place elements near the top or bottom edges because they look balanced in the full 9:16 preview, you’re gambling that nobody scrolls past your Reel in the main feed or glances at your grid, and both of those things happen constantly.
What Are the Exact Safe Zones for Text and Logos?
Percentages are useless until you convert them to pixels, so here’s the math.
Meta’s own safe-zone guidance breaks a 1080 × 1920 canvas into three risk zones: the top 14%, the bottom 35%, and 6% on each side. Converted to pixels, that’s roughly 269 px off the top, 672 px off the bottom, and 65 px on each side, leaving a central usable block roughly 950 by 980 pixels where your content is generally safe from cropping and UI overlays on Instagram.
The bottom third of every Reel is functionally off-limits for text. At 672 pixels, the bottom safe zone covers more than a third of your total frame height, because that’s where Instagram stacks the caption, username, audio track, like button, comment icon, and share icon. A headline placed there doesn’t get partially covered. It gets buried.
Cover design follows the same math with one twist. You still upload your cover at 1080 × 1920, but since the profile grid crops that cover down to roughly 3:4, keep your title, product, or face inside the central 1080 × 1350 area rather than the full canvas. Preview the cover directly in Instagram’s editor before publishing. What looks centered in your video editor can sit noticeably off-center once the grid trims the sides.
Here’s how that translates into placement decisions for the elements creators fight with most:
- Subtitles or burned-in captions belong just below the vertical midpoint, roughly between 35% and 55% down the frame, high enough to clear the bottom UI stack but low enough to feel anchored to the speaker or action.
- Call-to-action text (“Shop now,” “Link in bio”) reads best sitting just above the bottom overlay zone, never inside it, so it’s visible without competing with Instagram’s own icons.
- Logos or watermarks work best in the center-left or center-right of the frame, inside the 6% side margins, rather than in a corner where the 4:5 or 3:4 crop might clip them entirely.
The mistakes that show up most often follow a predictable pattern: a subtitle sitting too low gets swallowed by the caption bar, a headline placed at the very top of the frame gets sliced off in the 4:5 feed crop, and a logo tucked into a bottom corner disappears completely once the video hits someone’s profile grid. All three are avoidable with the same 950 × 979 pixel guideline applied consistently.
What Export Settings Avoid Blurry or Compressed Reels?
Most quality complaints trace back to one of two things: the wrong bitrate or an upscaled source file.
Two presets cover almost every situation you’ll run into as a creator or a store posting product content regularly.
- Mobile-friendly preset: 1080 × 1920, H.264, 8 Mbps bitrate, AAC audio at 48kHz, 30 fps. This is the workhorse setting for daily posting, product demos, and quick promotional clips.
- High-quality preset: same 1080 × 1920 canvas, but push bitrate to 12 to 18 Mbps using two-pass variable bitrate encoding. Reserve this for hero content, brand campaigns, or anything with fine detail like fabric texture or gradient backgrounds where compression artifacts show up fastest.
On codecs, HEVC (H.265) produces smaller files at similar quality, but device and app compatibility is still inconsistent across the Instagram user base. Unless you control the entire pipeline from camera to export and know your audience’s devices handle it cleanly, stick with H.264. It’s the format Instagram’s infrastructure is built around, and it’s the safer default for anyone publishing to a broad audience.
Two more habits separate clean Reels from muddy ones. First, never upscale a source clip that was shot or exported below 1080 pixels wide, since stretching low-resolution footage to fill a 1080 × 1920 canvas doesn’t add detail, it just magnifies the blur. Second, export once at your final settings rather than re-encoding a Reel multiple times through different apps, since each additional export pass introduces its own compression pass on top of the last.

Pro Tip: Before you schedule a batch of Reels, upload one test clip straight from your phone and watch it back in the actual Reels player, not your camera roll. Compression looks different once Instagram has processed it, and catching a soft or artifact-heavy export before it goes live saves you from quietly underperforming content nobody complains about.
Why Is My Reel Blurry, Cropped, or Missing Audio?
Most upload problems trace back to one of four causes, and each has a quick fix.
- Blurry video after upload. Check your export resolution first. If it’s below 1080 pixels wide or the source footage was upscaled before editing, re-export at native resolution rather than stretching a smaller file. A low bitrate export, anything under 8 Mbps, is the second most common cause.
- Black bars or unwanted letterboxing. This happens when a horizontal or square clip gets dropped into a 9:16 timeline without reframing. Crop the footage to fill the vertical frame, or add a blurred or color-matched background fill behind the original clip so there’s no dead space at the edges.
- Audio missing or out of sync. Confirm your audio track is AAC and embedded inside the MP4 container, not a separate file. If sync drifts, re-mux the audio and video rather than re-editing from scratch. That usually resolves timing issues introduced by a previous export.
- Upload keeps failing or timing out. Try dropping your bitrate slightly, switching from MOV to MP4 (or the reverse), or uploading through the mobile app instead of desktop. Instagram’s mobile upload path tends to be more forgiving with file handling than a browser upload.
How Xyla Helps Stores Publish Size-Safe Reels Faster
Manually rebuilding safe zones for every product drop gets tedious fast, especially for stores publishing several Reels a week.
Xyla AI generates Reels directly from your product listings on Shopify, WooCommerce, or Etsy, automatically sizing the output to platform specs like the 1080 × 1920 canvas and safe-zone math covered above, so you’re not eyeballing pixel placement for every new product photo. The platform then schedules and posts that content across Instagram, TikTok, and Facebook without you touching an export dialog. Store owners using this kind of automation report saving roughly eight hours a week that used to go into manual editing and posting.
Automation makes the most sense when your content is catalog-driven and frequent: new arrivals, restocks, seasonal promos, anything where the format stays consistent but the product changes. Manual editing still wins for complex editorial shoots, brand films, or one-off campaigns where creative control matters more than speed. For everything in between, Xyla’s video generation tools and social media size templates handle the repetitive sizing work so you’re not relearning safe-zone math every time you post.
What Should You Actually Prioritize First?
If you take one thing from this whole spec sheet, make it this: build a single 9:16 master file for every Reel, then derive other crops from it if you truly need them. Don’t design separately for the feed or the grid. Design once for the tightest constraint, the 4:5 and 3:4 crops, and let the full 9:16 view be the version with extra breathing room.

Readable subtitles and a face or product sitting inside that central safe band matter more for discoverability than most creators assume, because a Reel that looks confusing or half-cropped in the main feed loses viewers before they ever open it full-screen. Polish means nothing if your headline got sliced off at the 4:5 crop line.
On length, resist the urge to pack everything into one Reel. The practical reach sweet spot sits between 15 and 60 seconds, even though Instagram’s upload limits technically allow longer clips. Shorter, tightly cropped, safe-zone-respecting Reels consistently outperform longer ones that try to do too much. Get the frame right before you worry about the story inside it.
— Toby
Want Correctly Sized Reels Without the Manual Export Work?
Xyla AI is the alternative to hand-building every Reel export for stores that post product content on a regular schedule. Instead of manually checking safe zones, resizing covers, and juggling export presets for every new product, Xyla pulls directly from your Shopify, WooCommerce, or Etsy catalog and generates Reels, videos, and carousels already sized for Instagram’s 9:16 canvas, with cover crops and safe zones built into the output automatically.
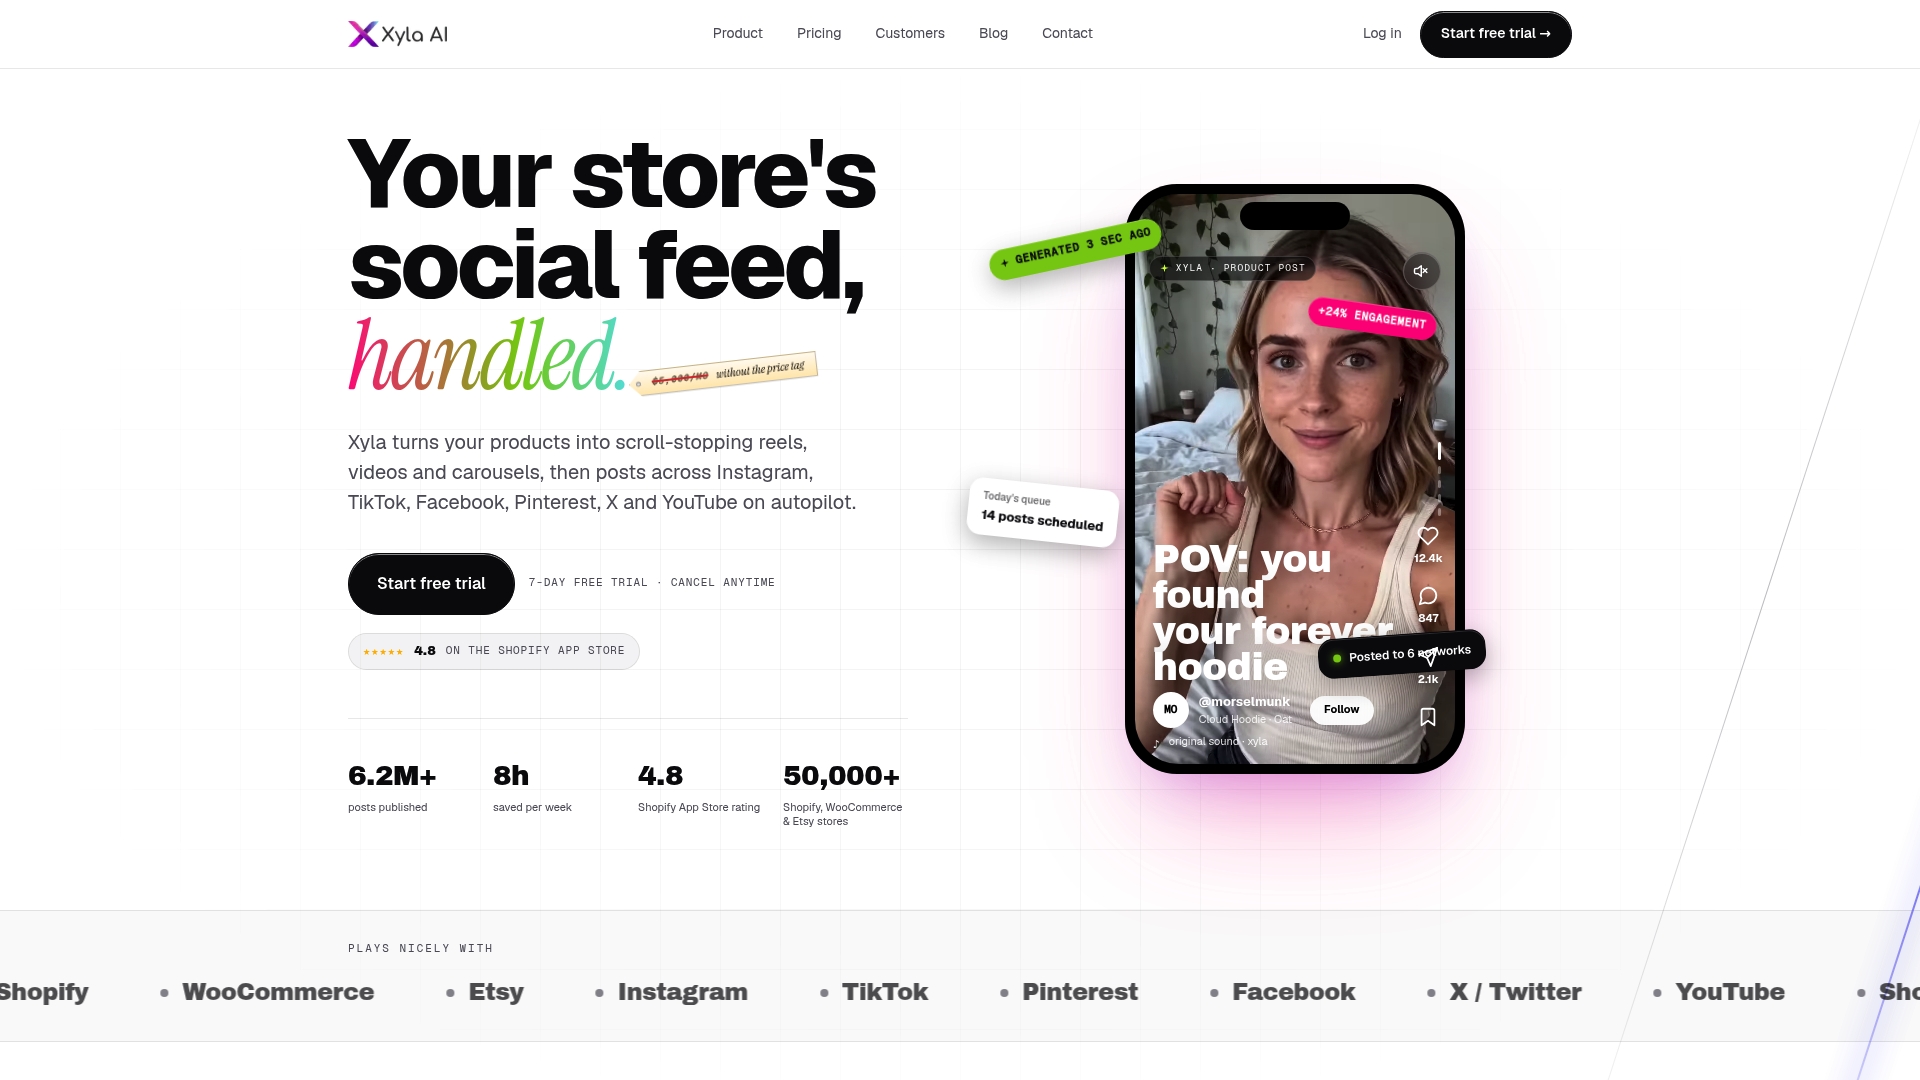
The platform also schedules and posts across Instagram, TikTok, and Facebook on its own, so a new product listing can turn into a published Reel without you opening an editing app at all. Plans start at $29 a month with the Growth plan, and Shopify sellers can check the dedicated integration page for details on how catalog syncing works. If you’re spending hours a week re-exporting the same Reel format for every new product, start a trial and see how much of that work disappears.
Sources
A few sources are worth keeping bookmarked, since Instagram’s specs shift occasionally and cheat sheets go stale.
Instagram’s own Help Center page on Reel dimensions and aspect ratios is the closest thing to a primary source you’ll get, covering the accepted aspect ratio range and minimum resolution requirements directly from the platform. For pixel-level safe-zone math, the breakdown on Instagram Reel Size in 2026 walks through exactly how the feed and grid crops behave, which is useful if you want to double check placement decisions against real screenshots rather than percentages alone.
For a deeper look at composing vertical video for attention and retention beyond just the technical spec, the piece on visual storytelling tactics covers framing and pacing choices that pair well with the safe-zone rules above. And if you want downloadable templates that already account for every crop discussed here, Xyla’s social media size guide is built specifically for that.
- Reel size & aspect ratios on Instagram
- Instagram Reel Size Guide (2026)
- Instagram Reel Size in 2026: Dimensions, Aspect Ratio, and Safe Zones
- Instagram Reels Size & Dimensions 2026 | Vidpal
- Instagram video sizes, dimensions, and formats for 2025
FAQ
Is an Instagram Reel 4:5 or 9:16?
Both, depending on where it’s viewed. You export and Instagram displays the full Reel at 9:16 in the dedicated Reels tab, but the main scrolling feed shows a centered 4:5 crop instead, so always design your master file in 9:16 and keep key content centered.
What Are the Recommended Instagram Reel Dimensions in 2026?
The recommended canvas is 1080 × 1920 pixels at a 9:16 aspect ratio, with a minimum resolution of 720 pixels wide and 30 fps. Export as MP4 or MOV with H.264 video and AAC audio, keeping bitrate within the recommended range.
Are Reels 1920 × 1080 or 1080 × 1920?
It’s 1080 × 1920, not 1920 × 1080. The larger number is always the height, since Reels are vertical, and flipping those dimensions produces a horizontal video that Instagram will letterbox or reject as a properly formatted Reel.
Is the Instagram Grid 4:5 or 3:4 Now?
The profile grid crops Reel covers to roughly 3:4, close to 1080 × 1440 pixels, while the main feed still shows a separate 4:5 crop for the scrolling video itself. Those are two different crops serving two different parts of the app, which is why testing your cover in Instagram’s own preview matters before publishing.
How Much Does Xyla AI Cost for Automating Reel Sizing?
Xyla AI’s Growth plan starts at $29 a month, with Pro at $39 a month and Enterprise at $60 a month, all billed monthly, and lower annual rates available on the pricing page. Shopify and Etsy sellers can find integration-specific plans on their respective pages, both starting at the same $29 entry point.


