

Cut Weekly Social Time to Under an Hour With a 5 Step Shopify Workflow
Run an event-driven social publishing system: sync your Shopify catalog, batch-create source assets, generate platform-specific variants with AI, and auto-schedule with an approval gate before anything goes live. Stores that adopt this model typically cut weekly social media hours from a full workday down to under an hour, while keeping every post shoppable and tagged. The five-step checklist below gets you there this week.
TL;DR:
- Sync your Shopify catalog with social platforms in real time to ensure product tags, prices, and stock levels are up to date before posting.
- Batch-create assets and generate platform-specific variants and captions in one session, then queue them for review and approval with automation tools.
- Automate inventory checks and auto-pause posts when products go out of stock or prices change, preventing outdated promotions and broken links.
- Focus on mastering three to four primary platforms and regularly review performance metrics to optimize content effectiveness and sales conversion.
- Maintain a manual approval step to catch errors, adjust timing, and ensure that automation supports, rather than replaces, founder oversight.
Table of Contents
- How Do You Build a Social Media Workflow for Shopify?
- Which Tools and Integrations Actually Matter?
- Turning the Checklist Into a Repeatable Operating System
- What Does a Shopify Content Calendar Actually Look Like?
- Automation Recipes You Can Build Today
- How Do You Know the Workflow Is Actually Working?
- Why Founder Oversight Still Matters With AI in the Loop
- Try the Workflow Without Building It From Scratch
- Sources
- FAQ
How Do You Build a Social Media Workflow for Shopify?
Start with the connection, not the content. Every shoppable post, every product tag, every “buy now” click traces back to whether your Shopify catalog is actually synced to your social accounts. Get that wrong and you’re posting pretty pictures into a void. Get it right and every product photo becomes a clickable storefront.
Here’s the five-step sequence, in the order it actually needs to happen.
- Connect and sync your catalog. Link your Shopify store to Instagram, Facebook, Pinterest, and TikTok through their native commerce integrations, then turn on product metadata and tagging so items sync automatically as you add or update inventory. Shopify’s own integration guidance treats this as the foundation step, and for good reason: without it, nothing downstream is trackable back to a sale.
- Set content pillars and a weekly cadence. Pick a four-layer mix (more on the exact ratio below) and decide how many posts per platform you’ll commit to each week. This takes 20 to 30 minutes and saves hours of “what do I post today” paralysis later.
- Batch-create source assets. Block one session, ideally 60 to 90 minutes, to shoot or collect product photos and short video clips. Upload everything into a single asset folder or a dedicated asset manager so nothing lives on your phone’s camera roll.
- Generate per-platform variants and captions. One source photo or clip should become four or five outputs: a Reel, a TikTok, a Pinterest pin, a Story, and a feed post, each cropped and captioned for its platform. AI-assisted tools handle the resizing and first-draft copy; you queue the results in an editorial workspace for review.
- Schedule, gate, and monitor. Set automated publishing times, add one approval checkpoint before anything goes out, and layer in inventory-aware rules so a sold-out product doesn’t keep getting promoted.
Do this once and each following week takes a fraction of the setup time. Steps 1 and 2 are mostly one-time work; steps 3 through 5 become your recurring weekly rhythm.
Pro Tip: Tag products in your scheduled posts before you queue them, not after. Going back to retag a week’s worth of published content is the single most common time sink store owners report once they start batching.
Which Tools and Integrations Actually Matter?
Not every social tool built for creators is built for commerce. A scheduler that can’t read your product catalog is a glorified calendar app. Before you pay for anything, check that it covers five functional categories.
- Shopify-native connectors, which pull your product feed directly so tags and prices stay current without manual re-entry.
- Multi-platform schedulers, covering at minimum Instagram, TikTok, Pinterest, and Facebook, since daily usage data from Statista shows most of your customer attention concentrates on a handful of networks rather than spreading evenly across a dozen.
- AI content tools that turn a single product photo into multiple video and carousel formats, cutting the production bottleneck that keeps most small stores posting three times a month instead of three times a week.
- No-code automation platforms (think webhook-to-scheduler bridges) that connect a Shopify event, like a new product or a restock, to your content pipeline without needing a developer.
- A digital asset manager, even a simple shared folder structure, so your team isn’t hunting for the “final” version of a product video across five devices.
When you’re comparing options, four features separate tools worth paying for from tools that waste your trial period:
Product and catalog sync has to be two-way and near-real-time, not a nightly batch job that leaves yesterday’s inventory live on today’s posts. Product tagging needs to survive the scheduling step; plenty of tools let you tag a product in the composer, then quietly drop the tag when the post actually publishes. Auto-resize and transcode matter because Instagram Stories, TikTok, and Pinterest all want different aspect ratios and file specs, and manually reformatting one video five ways is exactly the busywork you’re trying to eliminate. Finally, check whether the platform gives you real API access; if you ever want to move from manual scheduling to the automation recipes further down this article, you need that door open from day one.
On evaluating cost and coverage, weigh pricing against how many platforms and how many posts per month you actually need, not the maximum tier a sales page pushes. A tool with a genuine ecommerce-focused connector and a real editorial approval flow, where a second person or your future self can review before publish, beats a cheaper tool that requires you to babysit every post manually.
Turning the Checklist Into a Repeatable Operating System
A checklist gets you started. A system keeps you from redoing the same work every single week. The difference between store owners who post consistently for a year and those who quit by month three usually comes down to whether they built an operating system or just followed a list once.
Think of the system in three layers.
Planning is your calendar plus your triggers. Instead of staring at a blank content calendar every Monday, your planning layer should pull from real store events: a new product launch, a restock, a flash sale, a seasonal push. An event-driven publishing model treats these product triggers as content inputs, so your calendar never starts empty. A restock isn’t just an inventory update; it’s a ready-made post.
Operations is where content gets made and checked. This is your editorial workspace: the place variants get generated, captions get drafted, and someone gives a final look before anything ships. The mistake most solo store owners make here is skipping the check entirely, which is how a discontinued product ends up featured in a Tuesday post three weeks after it sold out.
Distribution is the publishing and validation layer. This is where scheduled posts actually go live, where you confirm your API tokens haven’t expired, and where conditional rules either let a post through or hold it back.
That third layer is where most workflows quietly break, and it’s worth building specific rules into it rather than trusting manual memory.
- Auto-pause any scheduled post tied to a product that’s gone out of stock, rather than letting it publish and drive traffic to a dead “sold out” page.
- Sync price and discount changes into post captions automatically, so a post advertising 20% off doesn’t stay live after the sale ends.
- Validate every product link and tag before the post queues, catching broken URLs before a customer does.
Approval tiers don’t need to be complicated. A single founder quick-review step, where you glance at the week’s queue for 10 minutes on a Friday, catches most problems before they go live. Set a reasonable edit window (same-day changes are fine; a post scheduled six weeks out doesn’t need daily rechecking) and keep a manual emergency-publish option for the rare moment you need something live immediately, like a flash restock announcement.
The operational checks that prevent the embarrassing failures are boring but non-negotiable: validate media aspect ratios before scheduling so Instagram doesn’t crop your product photo mid-face, automate file-size and format transcoding so a video doesn’t get rejected at publish time, and monitor token health so a lapsed API connection doesn’t silently stop your posts for two weeks before you notice.
Pro Tip: Run your token health check on the same day every week, right before your batch-scheduling session. A dead connection caught on Monday is a five-minute fix. The same problem discovered three weeks later is a month of missed posts.
What Does a Shopify Content Calendar Actually Look Like?
Most store owners overthink the content mix, then underthink the schedule. A workable calendar needs both a ratio and a rhythm, and neither has to be complicated.
This kind of structured four-layer calendar makes it easy to audit whether your feed is overselling or under-engaging, since you can literally count how many posts fall into each bucket.
Here’s how that maps to a sample week across platforms:
Day Platform Format Goal Monday Instagram Feed Product carousel New arrival awareness Tuesday TikTok Short video Product demo/education Wednesday Pinterest Static pin Discovery traffic Thursday Instagram Stories Poll or Q&A Community engagement Friday Facebook UGC repost Social proof Saturday Instagram Reel Behind-the-scenes Brand affinity Sunday TikTok Trend-adapted clip Reach/discoveryStretch that same logic across 90 days and you layer in seasonal triggers: a spring restock push in March, a summer sale cadence in June, back-to-school content in August, holiday gifting content starting in October. The calendar structure stays the same; only the product focus and promotional intensity shift.
The batching recipe that makes this sustainable follows a simple sequence. Plan one shoot covering your week’s or month’s featured products, capturing both stills and short video clips in the same session. Treat that footage as a single source asset, then repurpose it into four or five platform-specific variants rather than shooting separately for each network. Queue all the variants in your editorial workspace the same day you shoot, while the context is fresh, and let your scheduler handle the actual publish timing across the week.

One 90-minute batching session, done weekly, typically produces enough content for the entire week’s calendar across four platforms.
Automation Recipes You Can Build Today
You don’t need a developer to start automating. You need to pick the right recipe for your current size, then upgrade it as your catalog and posting volume grow.
Recipe 1: Spreadsheet bulk scheduling. This is the entry point for stores with fewer than a few hundred SKUs. Export your product list to a spreadsheet, fill in caption and platform columns, and bulk-import into a scheduler that accepts CSV uploads. It’s manual, but it beats posting one item at a time, and it’s a reasonable place to start before adding any conditional automation.
Recipe 2: Webhook-driven AI pipeline. This is where things get genuinely automated. A Shopify webhook fires when a product is created, updated, or restocked. That webhook triggers a no-code automation tool, which passes the product data to an AI content generator. The generator produces captions and visual variants, drops them into your scheduler’s queue, and pings you or your team for approval before anything publishes. This recipe removes the manual data entry entirely while still keeping a human checkpoint.
Recipe 3: Advanced catalog-driven automation with conditional rules. Once the basic pipeline is running reliably, layer in the guardrails: auto-pause any queued post if the linked product goes out of stock, hold any post if the price changes beyond a set threshold (protecting against an outdated discount going live), and route flagged edge cases to a manual review queue instead of blocking the whole pipeline.
A few integration issues catch almost everyone the first time through:
- API tokens expire, often silently, and a lapsed token can stop your automation without any visible error.
- Each platform enforces different media size and duration limits, so a video that works on TikTok might get rejected by Instagram Reels.
- Product tagging frequently breaks between the composer and the actual published post, a gap worth testing manually before you trust it at scale.
How Do You Know the Workflow Is Actually Working?
Posting consistently means nothing if you’re not tracking whether it moves the business. Four metrics matter more than the rest: reach and engagement (are people seeing and reacting to posts), clicks to your product pages (are they moving from social to store), add-to-cart actions originating from social traffic, and social-attributed revenue, pulled from Shopify or GA4 rather than a platform’s own inflated engagement dashboard.
Run this on a cadence, not sporadically. Check creative performance weekly, so you catch a format that’s flopping before you’ve wasted a month on it. Review conversion numbers monthly, tying specific posts back to actual sales. Reset your content calendar quarterly, dropping formats that consistently underperform and doubling down on what’s working.
Statistic Callout: Platform prioritization isn’t optional. Given how concentrated daily social media usage is across a small number of dominant platforms, spreading your limited content budget across six networks usually performs worse than mastering three.
A few experiments are worth running before you assume your current approach is optimal: test a direct, benefit-led caption against a question-based hook; try putting your call-to-action in the first line versus the last; compare a static thumbnail against letting the video’s first frame do the work; and test posting times against when your actual customers are online, not generic “best time to post” advice.
The decision rule is simple. If a format consistently beats your account average across three or four posts, scale it. If it consistently underperforms after a fair test, pause it and move that production time somewhere else.
Why Founder Oversight Still Matters With AI in the Loop
Automation should handle the repetitive work: resizing, scheduling, first-draft captions. It shouldn’t handle judgment calls about tone, timing, or what a product launch actually means to your customers. The stores that get the most out of AI-assisted workflows keep a human checkpoint in the loop and treat automation as leverage, not a replacement for founder instinct. Start with one piece of the pipeline, prove it works, then expand.
— Toby
Try the Workflow Without Building It From Scratch
Everything above works whether you build it yourself with a spreadsheet, a scheduler, and a few no-code connections, or you use a platform that already does the syncing, variant generation, and approval gating for you. Xyla AI connects directly to your Shopify catalog, turns product photos into Reels, carousels, and short videos automatically, and auto-publishes across Instagram, TikTok, and Facebook on the schedule you set, with an approval step built in.
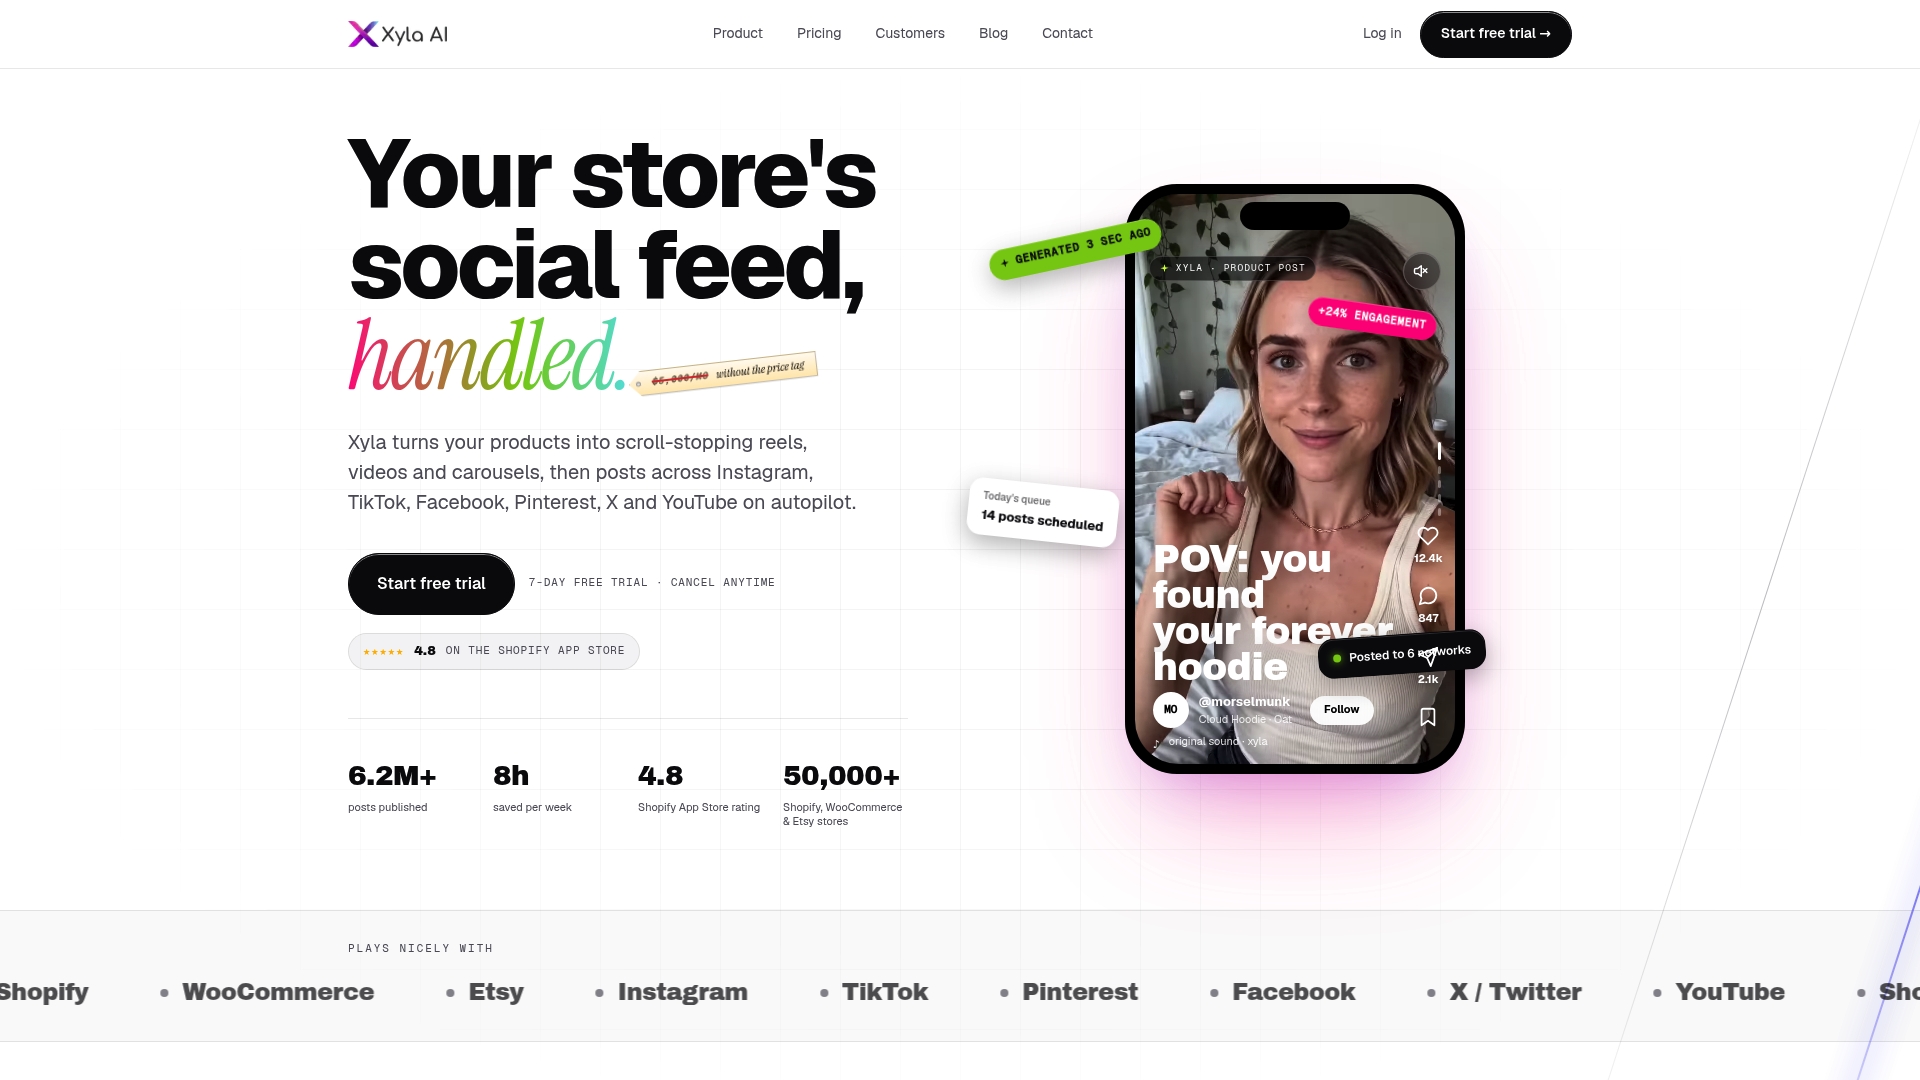
For store owners who don’t have eight extra hours a week to spend shooting, cropping, and scheduling content manually, this closes the gap between the operating system described above and something you can actually run today. Walk through the full setup at how to automate your social media marketing step by step and see how the catalog sync, AI variants, and scheduler queue map onto your own store’s product feed.
Sources
For deeper technical setup, Shopify’s own developer documentation covers webhook and API implementation for custom automation. Statista’s global network rankings help you confirm platform priorities for your specific audience. For a ready-made batching approach, The Media Captain’s calendar guide walks through weekly session structures in more detail, and for scaling brand voice with AI tools, Baby Love Growth’s guide to AI-driven branding is worth a read.
- Social Media Integration: What It Is and How to Do It — Shopify
- Daily social media usage worldwide — Statista
- A Social Publishing OS for Ecommerce Brands | Postly
- Content Calendar for Online Stores - 90 Days of Posts (2026)
FAQ
How Long Does It Take to Set Up This Workflow?
Most stores can complete the initial catalog sync and calendar setup in a single afternoon, then move into a recurring weekly batching rhythm of roughly one hour per week.
Which Social Platforms Should a Shopify Store Prioritize First?
Start with Instagram and TikTok for reach and discovery, then add Pinterest for search-driven traffic and Facebook for community and customer service, based on where daily usage concentrates.
Can I Automate Social Posting Without Coding?
Yes. No-code tools can connect a Shopify webhook to a scheduler, and platforms like Xyla AI handle the catalog sync, content generation, and publishing without any developer work.
How Do I Stop Selling Out-of-Stock Products on Social Media?
Build a conditional rule into your automation that checks inventory status before a scheduled post publishes and auto-pauses it if the linked product is out of stock.
What’s the Biggest Mistake Stores Make With Their Social Workflow?
Skipping the approval checkpoint. Posting straight from an automated pipeline without a quick human review is how outdated prices, sold-out products, and mistagged items end up live.


