

Save 8 Hours a Week: Resize Social Videos for Store Owners
Resize videos for social fast: export a high-quality master, then derive platform-native versions from it. Use MP4 with H.264, vertical 9:16 for short-form (TikTok, Reels, Shorts), 16:9 for YouTube, and 1:1 or 4:5 for feed posts. Success means a file that looks sharp on a phone screen and keeps captions clear of app buttons.
TL;DR:
- Always export your master file in 1080p or higher to prevent quality loss when deriving platform-specific versions.
- Use vertical 9:16 for TikTok, Reels, and Shorts, and 1:1 or 4:5 for feed posts, adjusting framing to keep key elements centered.
- Keep your export bitrate around 8-12 Mbps for 1080p to avoid artifacts, and match the frame rate to your original footage.
- Place captions in the middle third of the frame and critical logos or text within safe zones to avoid app interface overlaps.
- Automating video resizing and posting with tools like Xyla AI can save store owners about eight hours weekly by simplifying multi-platform formatting.
Table of Contents
- How to Resize a Video for Social Media Step by Step
- What Are the Right Video Dimensions for Each Platform?
- How Do You Keep Video Quality High When Resizing?
- Where Should Captions and Logos Go to Avoid Overlap?
- Why This Workflow Matters More for Store Owners Than Anyone Else
- Let Xyla Handle the Resizing and Posting for You
- Where to Check Platform Specs Before You Post
- Sources
How to Resize a Video for Social Media Step by Step
You don’t need editing software to get this right. A free online resizer with platform presets handles most of the work, and the process is the same whether you’re prepping one product clip or ten.
- Start with your master file. Export or upload the highest-resolution version you have, ideally 1080p or higher. Every platform version gets derived from this one file, so quality loss compounds if you start from an already-compressed copy.
- Pick the destination and its aspect ratio. Choose 9:16 for TikTok, Reels, and Shorts, 16:9 for standard YouTube, and 1:1 or 4:5 for Instagram or Facebook feed posts. Tools like Adobe Express, Canva, and Clideo all offer one-click presets for this step, which is why most SERP-topping guides point people toward online resizers instead of desktop editors.
- Reframe or crop, then check the safe zone. Drag the subject into the center of the frame rather than trusting an auto-crop to guess correctly, especially on product shots with text overlays.
- Set your export settings. Choose MP4 with H.264, keep the frame rate consistent with your original footage, and target a bitrate in the 8 to 12 Mbps range for 1080p.
- Export and test before scheduling. Play the file back on an actual phone, not just your desktop preview window.
Before you post anything, run through a fast checklist: preview on mobile, confirm captions aren’t clipped, and pick a cover frame that doesn’t land on a blink or a transition.
Pro Tip: Keep your original master file untouched and export copies for each platform. If TikTok changes its spec next quarter, you re-export from the master instead of re-shooting the video.
What Are the Right Video Dimensions for Each Platform?
Every major network publishes its own preferred specs, and they shift often enough that Sprout Social’s spec guide updates its tables regularly. Here’s where things stand.
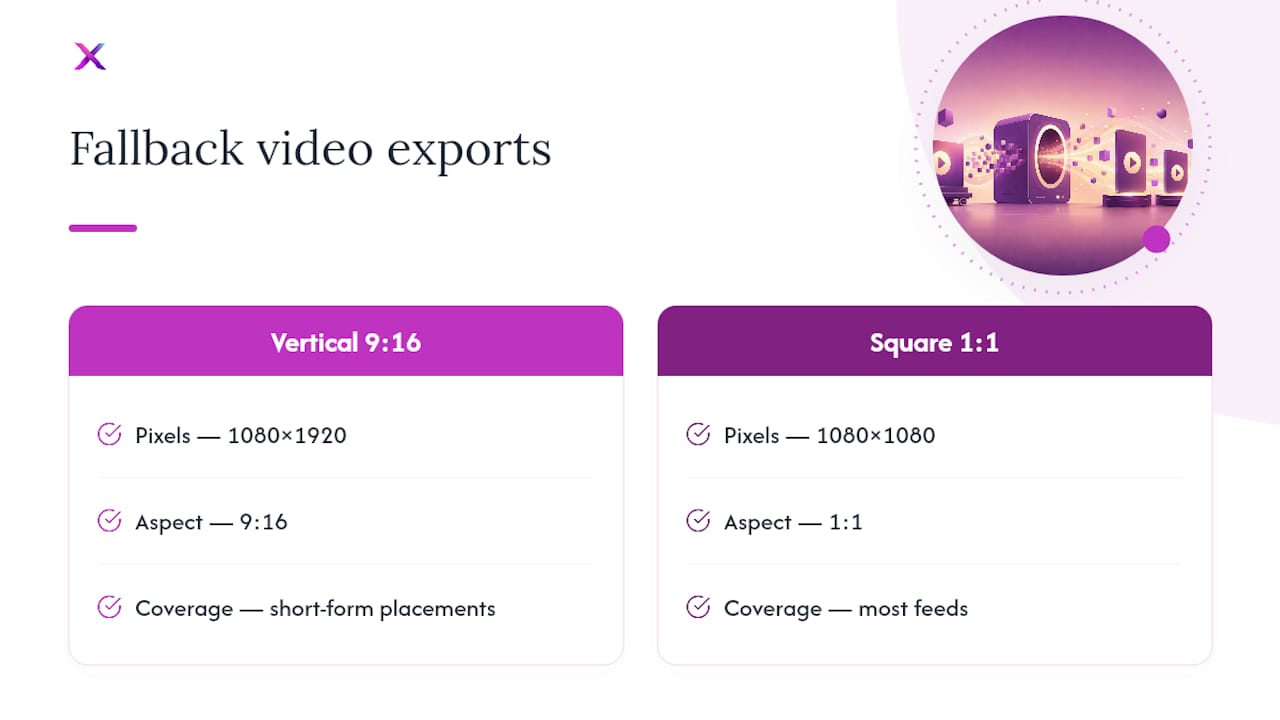
When you’re posting the same clip everywhere and don’t have time to build nine versions, SocialPilot’s sizing cheat sheet backs up the simplest fallback: vertical 1080×1920 covers nearly every short-form placement, and 1:1 covers most feeds. If you only export two versions, make them these. For exact crop guides and safe-zone overlays by platform, Xyla’s social media size reference breaks down each one visually.
How Do You Keep Video Quality High When Resizing?
Quality loss during resizing almost never comes from the resize itself. It comes from re-exporting a file that’s already been compressed once, then compressing it again for a second platform. Each pass throws away more data, and by the third export the footage looks noticeably softer than your original.
The fix is straightforward:
- Export once from your master at full resolution, then derive every platform version from that same original file.
- Use MP4 with H.264 for near-universal compatibility; H.265 (HEVC) shrinks file size further but some platforms still handle it inconsistently.
- Target 8 to 12 Mbps for 1080p exports and 35 to 45 Mbps if you’re working in 4K, a range confirmed by Loopdesk’s 2026 platform spec guide.
- Match your frame rate to the source footage instead of converting 30fps to 60fps or vice versa, which introduces stutter.
- Keep your editable project file. Once you flatten to MP4 and delete the source, you can’t fix a bad export without reshooting.
If you’re seeing grain or blocky artifacts, the bitrate was probably too low for the resolution. Black bars usually mean the aspect ratio didn’t match the platform, and the safest fix is reframing the shot rather than stretching it.
Where Should Captions and Logos Go to Avoid Overlap?
Every vertical platform layers its own interface on top of your video: a caption bar near the bottom, an engagement rail (likes, comments, share) running down the right side. Put critical text or your logo in either zone, and the app itself covers it.
- Keep your main subject and any text centered in the frame rather than pushed to the edges.
- Leave roughly 15% of margin space above the bottom edge, a buffer creators consistently rely on based on measurements from Zella’s aspect ratio guide.
- If your source footage is landscape and the destination is vertical, letterbox or pillarbox instead of cropping out important detail.
- Place captions in the middle third of the frame, never flush against any edge.
Pro Tip: Safe zones shift slightly every time an app redesigns its interface. Export a test version, load it on your own phone, and eyeball it before you schedule anything for a real audience.
Why This Workflow Matters More for Store Owners Than Anyone Else
Most people resizing videos post once and move on. Store owners post constantly, and every product clip has to go through this same reformatting cycle. That repetition is exactly where a manual workflow breaks down. Automating the derivation step frees up the time that actually drives sales: writing better captions, testing different cover frames, telling the story behind the product instead of fighting with export settings for the fifteenth time that week.
— Toby
Let Xyla Handle the Resizing and Posting for You
If you’re running a store on Shopify, WooCommerce, or Etsy, resizing videos one platform at a time eats hours you don’t have. Xyla AI automates that entire step: it converts your product listings into video, reel, and carousel content, then formats each version for the platform it’s headed to, safe zones and all, before scheduling it automatically.
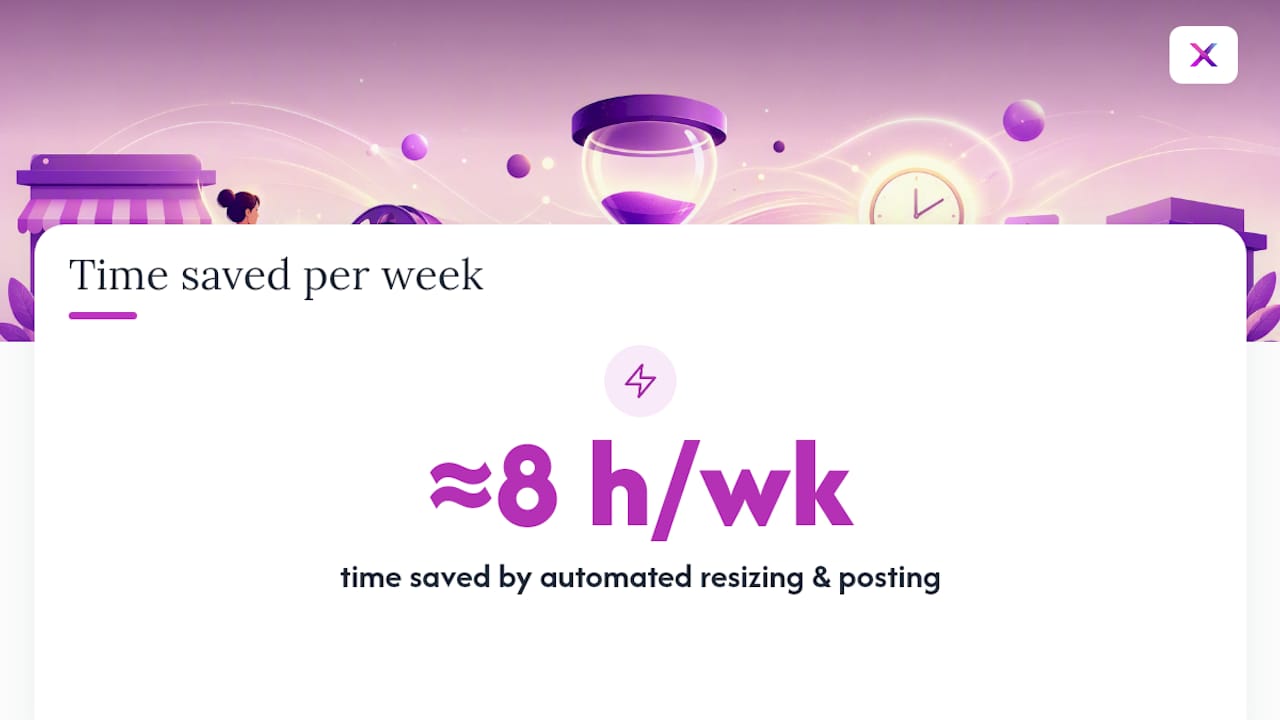
Store owners using automated posting report saving roughly eight hours a week that used to go into manual formatting and scheduling. That’s time back for product photography, customer service, or just closing the laptop. Instead of exporting nine versions of the same clip by hand, you upload your product photos once and Xyla generates platform-native videos, AI-driven UGC-style clips, and carousels formatted correctly for each network from the start.
If you want to see exactly how the automated workflow replaces the manual export process described above, walk through the step-by-step setup and start your trial from there.
Where to Check Platform Specs Before You Post
Platform specs change often enough that it’s worth bookmarking a couple of primary sources instead of relying on memory. Sprout Social’s spec guide tracks resolution and format updates across networks, SocialPilot’s sizing cheat sheet covers quick fallback dimensions, and this piece on visual content performance makes the case for why getting the format right matters for views in the first place.
Sources
- How to Optimize Video for Every Platform: The Complete 2026 Spec Guide
- Best Video Size and Aspect Ratio for Every Platform (2026)


