

Keep Brand Color: Product Photos to Video for Stores
Yes, you can turn a single product photo into a publish-ready video in a matter of minutes, and modern AI tools make it practical for stores running lean. The realistic output is a short clip, usually five to fifteen seconds, sized for a Reel, a TikTok, or a square loop on your product detail page. The payoff shows up fast: listings with video tend to convert better than photos alone, and the real risk isn’t speed, it’s making sure the animated version still looks like your product.
TL;DR:
- Using real product photos as sources and avoiding stylization are essential to maintain trust when generating short videos with AI tools.
- Batch-exporting multiple aspect ratios from the same source file streamlines publishing across platforms, reducing rework and rejection risks.
- The four effective shot frameworks are hero orbit, turntable, macro detail, and lifestyle, each suited to different product types and storytelling goals.
- AI-generated videos are best for long-tail, seasonal, or A/B testing products, while flagship items with strong branding and authenticity still require a professional shoot.
- Automating the conversion and scheduling process through tools like Xyla can save significant time for stores with large catalogs, enabling scalable video marketing.
Table of Contents
- How to convert product photos to video, step by step
- How do you keep product fidelity when animating photos?
- What aspect ratio and length should product videos be?
- Which shot frameworks actually work with product photos?
- How do you scale product video creation across a catalog?
- When does AI video actually beat a real photo shoot?
- How Xyla turns your product photos into scheduled video content
- Where to go for specs and deeper workflow detail
- Sources
How to convert product photos to video, step by step
The mechanics of turning product photos into video are simpler than most sellers assume, but the order of operations matters. Skip the prep step and you’ll spend twice as long fixing a wobbly render.
- Prepare your source photo. Crop tight, cut out the background if you’re doing a turntable or hero orbit, and fix exposure before you touch any AI tool. Your canonical hero image, the one buyers already trust on the listing, should be the base file.
- Pick a shot framework that matches the job. A hero orbit or turntable sells clarity. Macro shots sell texture and material quality. Lifestyle shots sell context and use case.
- Choose your channel, aspect ratio, and duration up front. Vertical for social, square for PDP loops, landscape for banners. Deciding this before rendering saves you from re-exporting later.
- Render, then review for fidelity. Check that colors, labels, and proportions match the still photo. This is the step most people rush.
- Export and publish. Push to your marketplace listing or queue it in your social scheduler.
A typical workflow, according to explainers from vendors like Vovv, boils down to four moves: upload the photo, pick the camera motion, set duration and ratio, and render an HD clip in minutes. That’s the whole loop. Vendor pages like Whatmore claim brands can cut go-to-market time by as much as 70% using this approach, generating a first draft for a single product in under two minutes.
How do you keep product fidelity when animating photos?
Here’s the uncomfortable truth about AI video generation: the technology is good enough that speed was never the bottleneck. Trust is. Viewers size up a video against the still photo almost instantly, and if the motion doesn’t match what they expected, they bounce or, worse, they buy and feel misled when the box arrives.
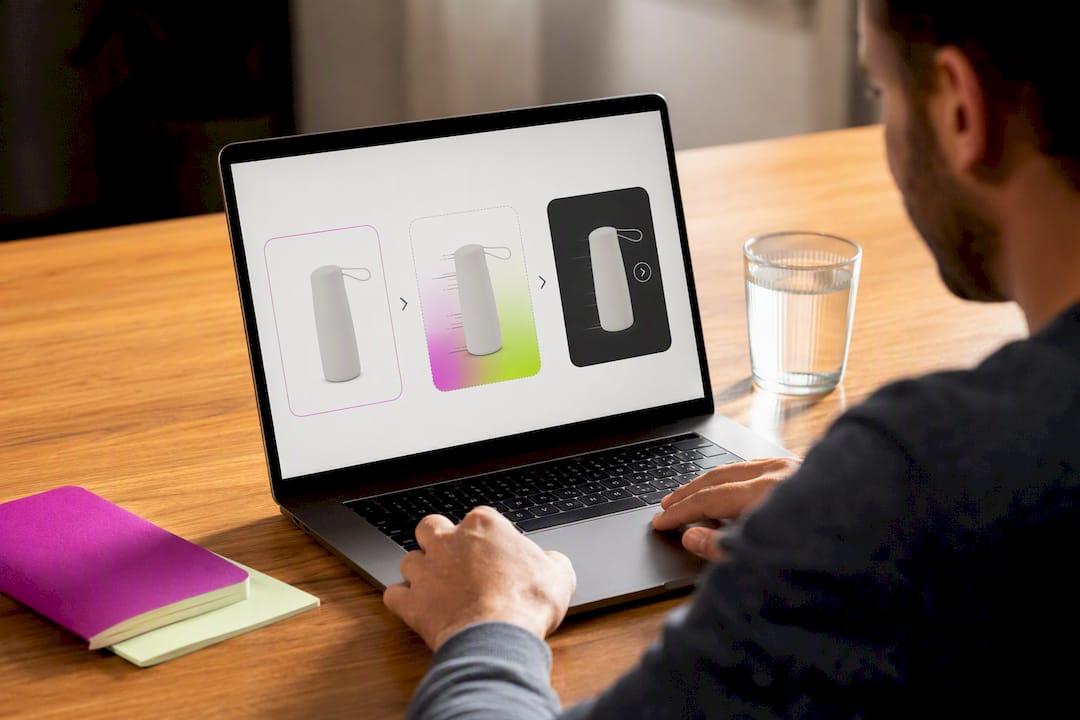
Industry reviewers tracking tools like Creatify AI point to a rough rule worth internalizing: if a viewer can’t match the generated video to the product photo within about two seconds, trust drops. That’s not a lot of margin for error. Packaging color, label placement, and silhouette all have to survive the jump from still to motion.
Run this checklist before anything goes live:
- Use your real product photos as the source, never a generic stock substitute.
- Lock your brand colors so the render doesn’t drift toward a warmer or cooler palette.
- Preserve exact packaging and label details, especially small text and logos.
- Avoid “generate from scratch” or heavy stylization modes that let the model guess at geometry the photo didn’t show.
- Watch for hallucinated details, an extra seam, a mismatched cap color, that weren’t in the original image.
Pro Tip: Do a side-by-side mobile preview before you publish, phone screen, not desktop monitor. Most buyers will see this video on a phone, and color shifts and cropping issues that look fine on a 27 inch display often look wrong at thumbnail size.
The upside for getting this right is real. Sellers adding listing videos report conversion lifts between 18% and 34% compared to photos alone, and marketplaces generally index new listing videos within about 24 hours. That’s a fast enough turnaround to test a video against a slow SKU and know within a week whether it moved the needle.
What aspect ratio and length should product videos be?
Every channel has its own rules, and getting the export settings wrong is the single most common reason a good video underperforms. Batch-export from the same source file into multiple ratios rather than re-shooting for each platform, a practice built into tools like Photoroom’s video generator.
Amazon’s main-image video specs require a clean background and restrict on-screen overlays, while Etsy listing videos are silent and capped short. Check your specific marketplace’s current rules before batch uploading. They change more often than most sellers expect, and a rejected video costs you the indexing window you just earned.
Which shot frameworks actually work with product photos?
Four shot types cover almost every product category, and picking the wrong one for the job wastes a render.
- Hero orbit: a slow rotation around the product, ideal when clarity sells, jewelry, electronics, bottles.
- Turntable: similar to orbit but flatter and faster, works well for apparel accessories and small goods on a plain backdrop.
- Macro detail: close, textured shots that sell material quality, think fabric weave, leather grain, or a cosmetic’s finish.
- Lifestyle context: the product in use, best for storytelling on social rather than the PDP itself.
- Unboxing style: a sequence implying reveal, useful for gift-oriented or subscription products.
For orbit and turntable motions, start from a clean cutout on a plain background. Lifestyle shots need at least one environmental photo to anchor the motion, or the render has nothing real to move around. A short style descriptor helps steer tone: something like “slow premium orbit, matte jar, warm morning light” communicates mood without dictating exact frames. Combining a front shot, a packaging shot, and a texture close-up in one reel tends to outperform a single static angle stretched across fifteen seconds.
How do you scale product video creation across a catalog?
Producing one good clip is easy. Producing three hundred without babysitting each one is the actual challenge for stores with real catalogs.
- Standardize photo naming and metadata so your pipeline can auto-assign the right template, hero orbit for jewelry, macro for textiles, without manual sorting.
- Set a QC sampling rate before you scale, reviewing 5 to 10% of renders with defined auto-fail criteria: color drift past a set threshold, visible distortion, or label skew.
- Pipe approved renders directly into your scheduling tool or marketplace uploader so publishing doesn’t become its own bottleneck.
Shot libraries and bulk generation features, the kind built into tools like Imagera’s product reel maker, let sellers apply the same template logic across hundreds of SKUs without re-learning the workflow each time.
Pro Tip: *Don’t skip the sampling step, just because volume is high.
When does AI video actually beat a real photo shoot?
The honest answer is: it depends on the SKU. Long-tail products, the ones that will never justify a studio day, are where AI-generated video earns its keep outright. Seasonal campaigns and rapid A/B tests fall in the same category. You’re not trying to make art, you’re trying to find out fast whether video moves a listing’s conversion rate.
Hero SKUs are different. If a product carries your brand’s visual identity or leans on genuine lifestyle authenticity, a real shoot still wins. AI-generated motion is a volume tool, not a replacement for craft on your flagship items. Use it where speed matters more than nuance, and save the camera crew for the products that carry your brand’s reputation.
— Toby
How Xyla turns your product photos into scheduled video content
There’s a real gap between knowing the workflow above and actually running it for fifty SKUs every week without hiring anyone. That’s the gap Xyla closes. Xyla takes the listing photos already sitting in your Shopify, WooCommerce, or Etsy catalog and turns them into reels, PDP loops, and UGC-style clips, then posts them automatically to Instagram, TikTok, and Facebook at the times your audience is actually active.
Because Xyla connects directly to your store, there’s no exporting photos to one tool and video files to another. New products get picked up, turned into on-brand video, and scheduled without you touching a render queue. Store owners using this kind of automation save time that would otherwise go into manual content creation and posting. If your catalog is growing faster than your content calendar, start a trial and connect your store to see your first batch of videos generated automatically.
Where to go for specs and deeper workflow detail
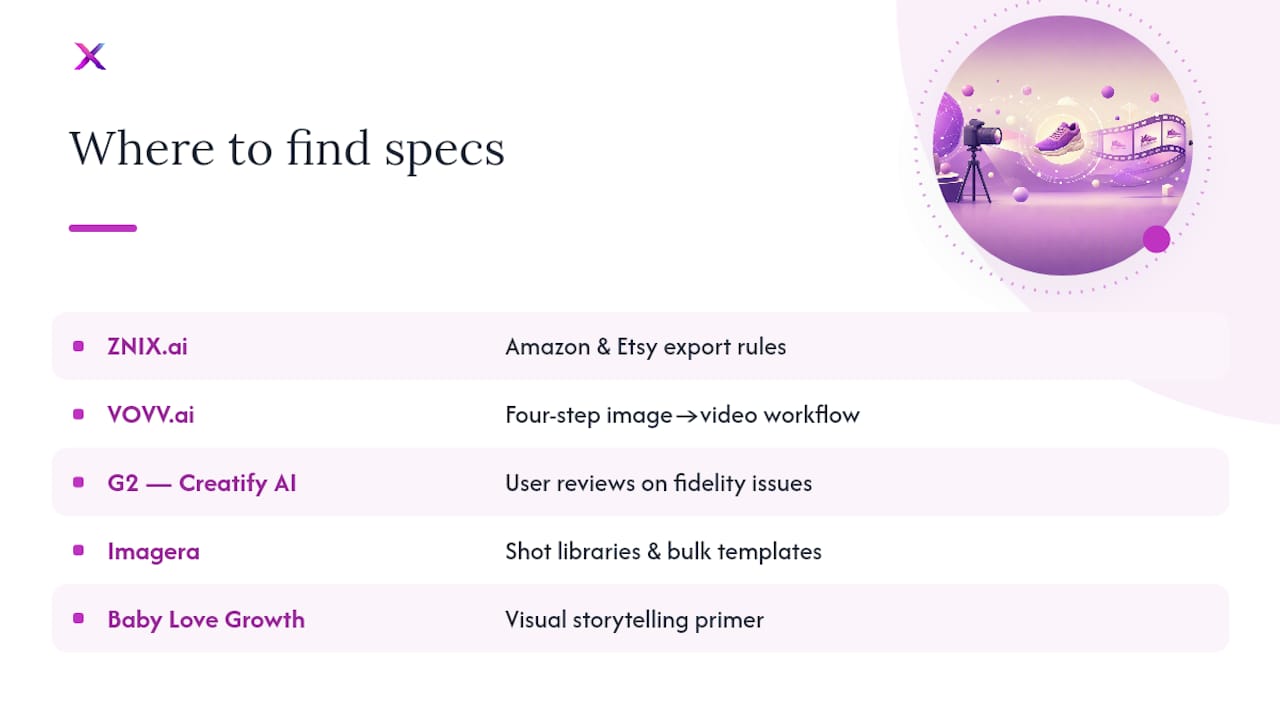
For platform-specific export rules, ZNIX.ai’s product video explainer covers Amazon and Etsy formatting constraints in more detail than fits here. For the underlying four-step generation workflow, VOVV.ai’s image-to-video tool page walks through the mechanics vendors use. On the fidelity question, specifically why viewers reject mismatched renders, G2’s Creatify AI reviews collect real user feedback on where trust breaks down. And for shot libraries and bulk template logic, Imagera’s reel maker page is worth a look before you commit to a scaling approach. If you want a broader primer on visual storytelling choices before you settle on a mood or style, Baby Love Growth’s guide to visual storytelling is a useful outside reference.


